What actually happened?
Friends asked me to check what can be done for “fixing” some “broken” hard-drive.
So, what we have?
- Hard-drive 2.5" 500 Gi SATA;
- Correctly detected by
Windowsmachine in 3 over 10 times; - There are lots of pictures, images, songs, videos very important for
owner and his wife in particular; - Should be NTFS partition.
Quick remark: I am not a professional data recovery guru, so here is just
my naive experience.
First look
The hard drive is well detected on Linux as device, however, cannot be mounted
because of some partition issues.
It turned out that partition table has been damaged and cannot be read.
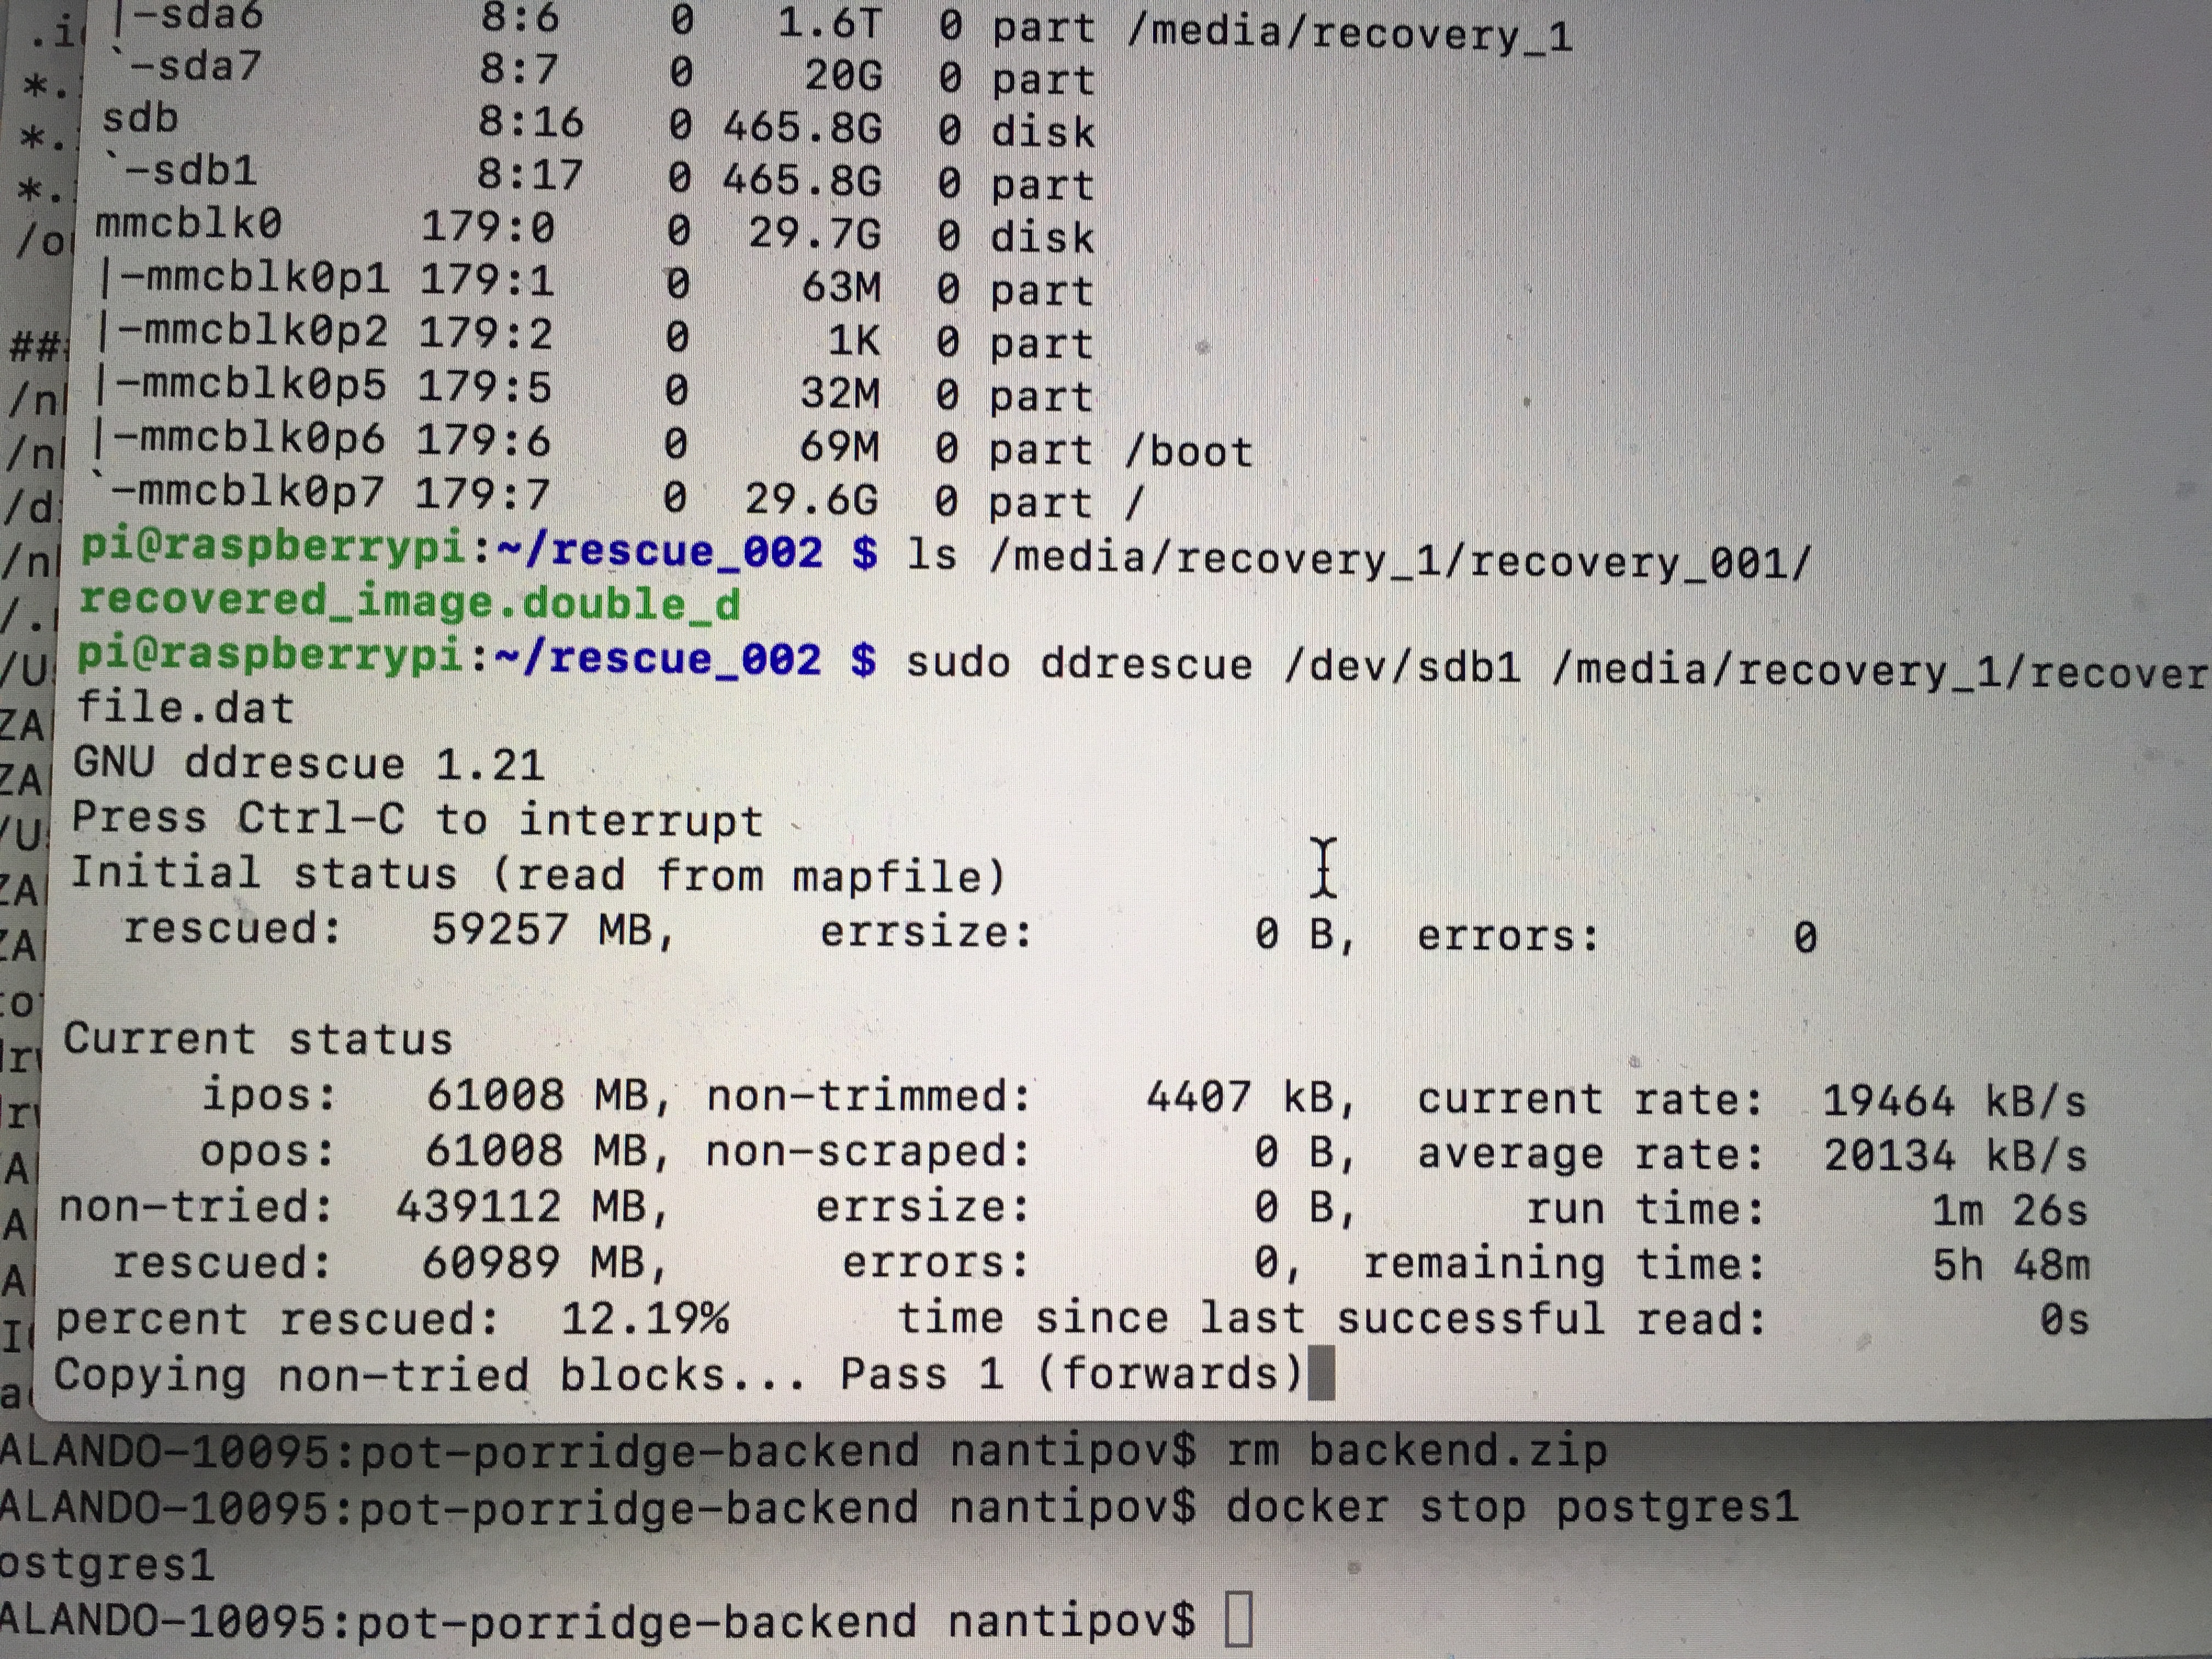
Reading data image with ‘ddrescue’
I decided to carefully read disk image and store it as a single file in a
safe place for further investigation.
There is a good tool doing this in a brilliant way, called
ddrescue, it is a part of GNU project.
Please do not be confused with dd_rescue which is another tool doing the same,
but works mostly as a script solution and has not been really maintained
since 2015. So, I decided to go with ddrescue.
Quick installation for Debian / Ubuntu.
|
|
Quick installation for Mac (brew).
|
|
Tool actually reads the entire disk and copies it onto another device
or image file. The process works in a few phases with forward and backward
passes among the disk. Basically, algorithm is written in a way of rescuing as
much data as possible with less harm. Most damaged places are skipped on
beginning and read carefully afterwards during additional recovering phases.
Also ddrescue writes a log, so you can interrupt the process any time and
resume it later.
In my case I read disk and stored it as dd compatible image file on another
device.
|
|
Where
/dev/sdb1- device under recover;/media/recovery_1/recovery_001/recovered_image.double_d- where recovered
image should be stored;/media/recovery_1/recovery_001/mapfile.dat- path to the log file.
What I found after building an image
Empty disk.
Seriously, it was well cleaned disk :-).
Yes, about 200 Mi of data had been physically corrupted somewhere in the middle
of the disk. However, partition table was recovered well, but it appears empty.
Then, yes, my friend, said Windows offered him to format disk after some number of
attempts to read it. Mostly Windows was experiencing something like of handing
or freezing. However, finally it asked to format a disk and my friend accepted
the offer (accidentally).
Quick format does not destroy the data and files itself
…Well, but makes them unreachable.
Disk was formatted with quick-format (default) approach. Which means data is
still there. But we lost the entire structure of folders/directories and files.
We are not aware about files location, size and fragmentation. It is data, but
we cannot reach it.
Thank you ‘photorec’
I found a tool called photorec.
This one is amazing solution helping you for recovering data even after destroying
the allocation table. It does not actually restores everything,
but does a great job anyway.
Quick installation for Debian / Ubuntu.
|
|
Quick installation for Mac (brew).
|
|
So, what is the story behind. The photorec reads disk or image sector by
sector and tries to recognize the files. It has a library of most commonly known
file formats and does its best to solve the puzzle looking into raw data.
For example, it sees the sequence of bytes which looks like a beginning of
JPEG file. Then it tries to treat the data in context of JPEG file, following
its structure, reading the length of file, doing checksum magic and so on.
The same idea for video, audio and other files, but different algorithms for
every single filetype.
As a result you get some of your lost data back. It is not 100% data recover.
Because of files fragmentation or exotic files format which photorec is not
aware of.
Also even recovered files may look corrupted because of disk physical damages,
streaming content might appear unfinished and things like that.
Yes, and of course, filenames and allocation are totally lost.
So, here is how I run it.
|
|
Where
/log- Option to enable logging (for stop/resume abilities);/d /media/recovery_1/data_files/data- Option to specify target
directory for recovered files;/media/recovery_1/recovery_001/recovered_image.double_d- points toddcompatible image under recovering.
Organizing content
Well, the next thing we should do is making a tiny organization among nameless
recovered files.
Most of the media files have internal metadata section which might contain
variety of data (e.g. date and time of shot, camera model, track name and
artist, even global coordinates and other stuff).
Music files with ‘music-file-organizer’
Let’s start with music files. I found just an amazing tool
music-file-organizer
made by some very talented software engineer Jason A. Donenfeld
(nickname ZX2C4).
You should see it. It just a few lines of C++ code. It works very stable and
fast.
So, let’s build it (Debian / Ubuntu version).
|
|
And run.
|
|
Works perfect and so quick. Eventually you will find mp3 and other sound
files organized in the following way.
music/
   |
   +-- artist/
         |
         +-- album/
               |
               +--song1
               |
               +--song2
Photo and video files with ‘Media-Organizer’
For organizing the photo and video files I found a tool
Media-Organizer.
It provides required flexibility and simplicity either.
Tool depends on exiftool and
implemented as a library for Java programs.
Quick installation of exiftool for Debian / Ubuntu.
|
|
Quick installation of exiftool for Mac (brew).
|
|
Let’s build and run it.
Firstly, I cloned the git-repository.
|
|
Since this a library, I need to build it and call with some code from
my application. However, the simple command-line launcher is already there as
one of provided examples.
To make all stuff simple I added files from following git-repository
(I was feeling lazy to install maven on machine, so, just copied the wrapper
to let it do the work).
|
|
And now run with maven exec plugin.
|
|
Where
com.github.swamim.media.examples.app.cli.MediaOrganizerTool- is ajava
main class to run the application;-exif /usr/bin/exiftool- points to theexiftoollocation;-from /media/recovery_1/data_files/- files to analyze;-imagesto /media/recovery_1/photos- location to put images;-videosto /media/recovery_1/videos- location to put videos;-c MOVE- working mode - move files from input folder (-from) into
newly organized structure (-imagestoor-videostolocations).
The following files structure will be created.
photos/
videos/
   |
   +-- YYYY-MM-DD/
            |
            +--file1
            |
            +--file2
So what?
This is what we eventually get.
|
|
663G	total
466G	recovery_001
173G	videos
19G	 photos
3.0G	data_files
2.6G	music
21K	System Volume Information
512	$RECYCLE.BIN
This means we recovered 173Gi of videos, 19Gi of photos, 2.6Gi of music
and 3.0Gi of other files (e.g. .txt, .html, etc.).
Which is 197Gi in total.
So, even less than half of the disk volume (500Gi). But I am not sure if disk
capacity was fully in use.
Anyway, this was great experience for me. Accordingly to EXIF and metadata,
recovered data is from 2006 and I am very glad we managed to get this
stuff back.
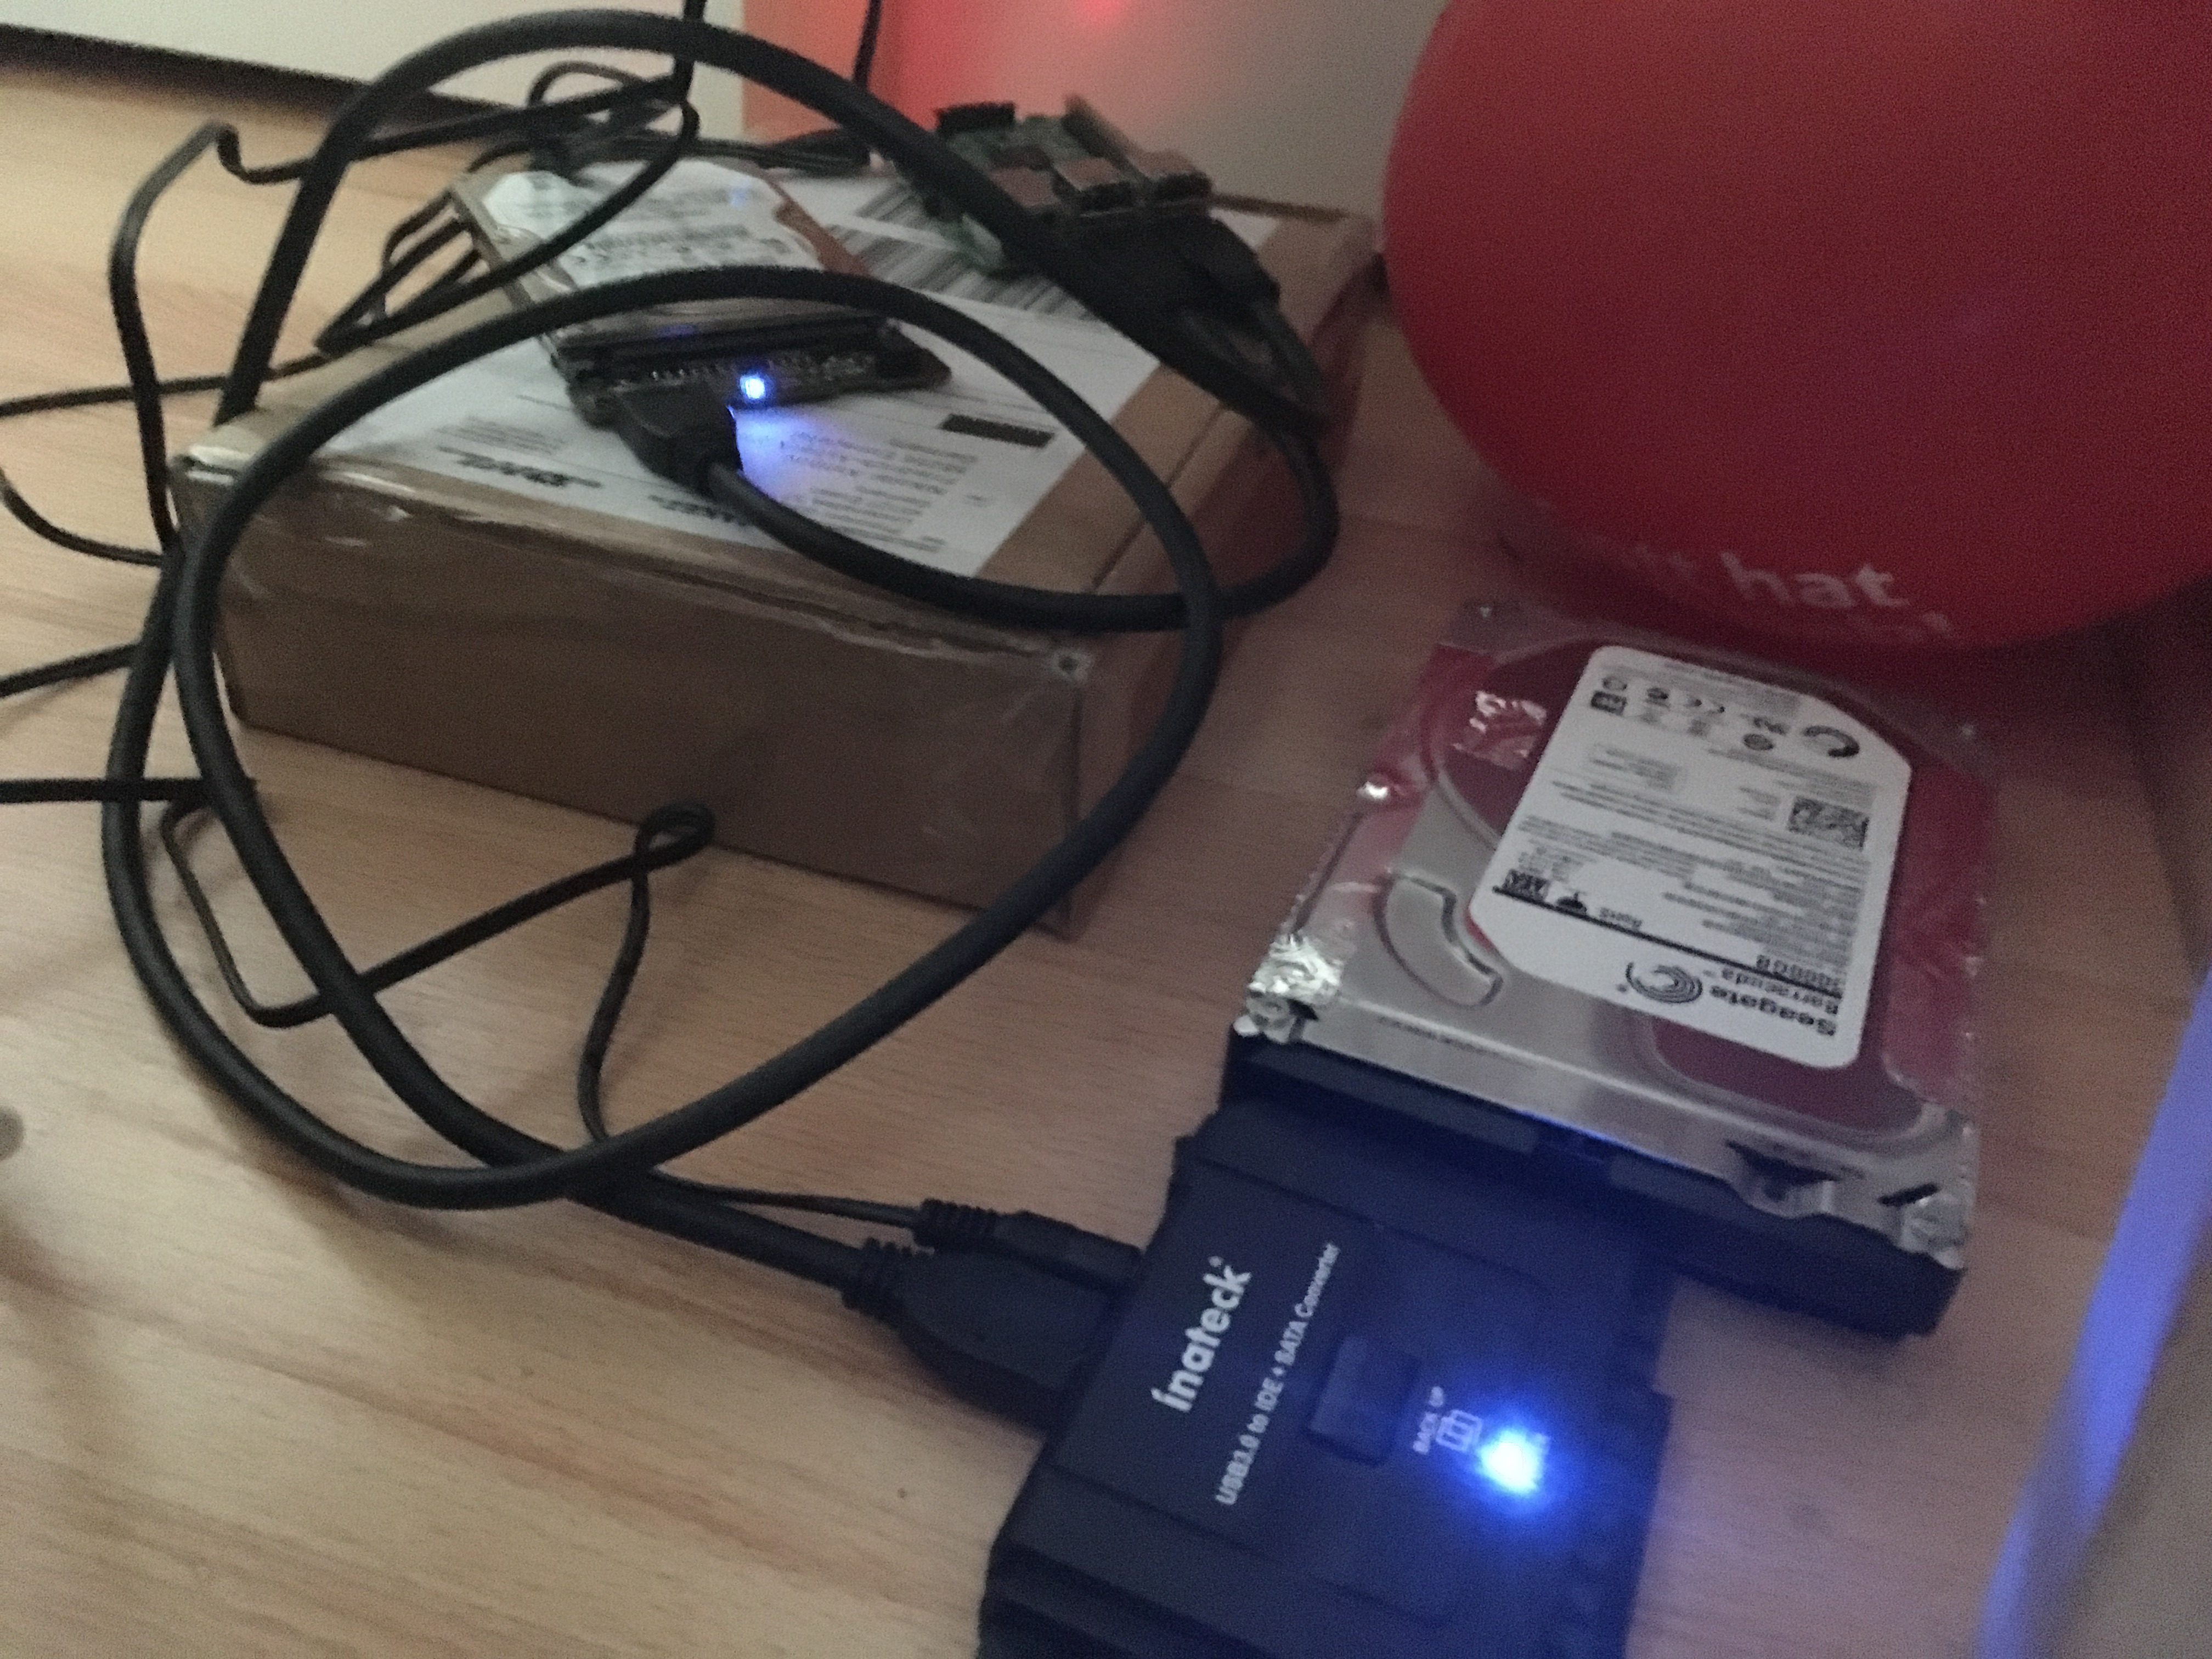
Funny backlog
I did all my experiments running on Raspberry Pi device with raspbian OS
on it.
Here is how it actually looks like.
Reading and storing disk image with ‘ddrescue’
Extracting files with ‘photorec’